Adding subtitles to your videos shouldn't require expensive software or hours of manual work. With TranscribeGo, you can generate an SRT subtitle file for any video in under a minute — just drag, drop, and download. No account setup needed for your first 10 minutes of transcription.
In this guide, we'll walk you through the exact steps to create subtitles for any video file, plus tips on how to use SRT files with popular video players and editors.
What You'll Need
- A video file (MP4, MOV, AVI, MKV, WebM, or any common format)
- A web browser (Chrome, Firefox, Safari, or Edge)
- That's it — no software to install
Step 1: Open TranscribeGo
Go to transcribego.com and sign in (or start with the free plan — you get 10 minutes of transcription at no cost).
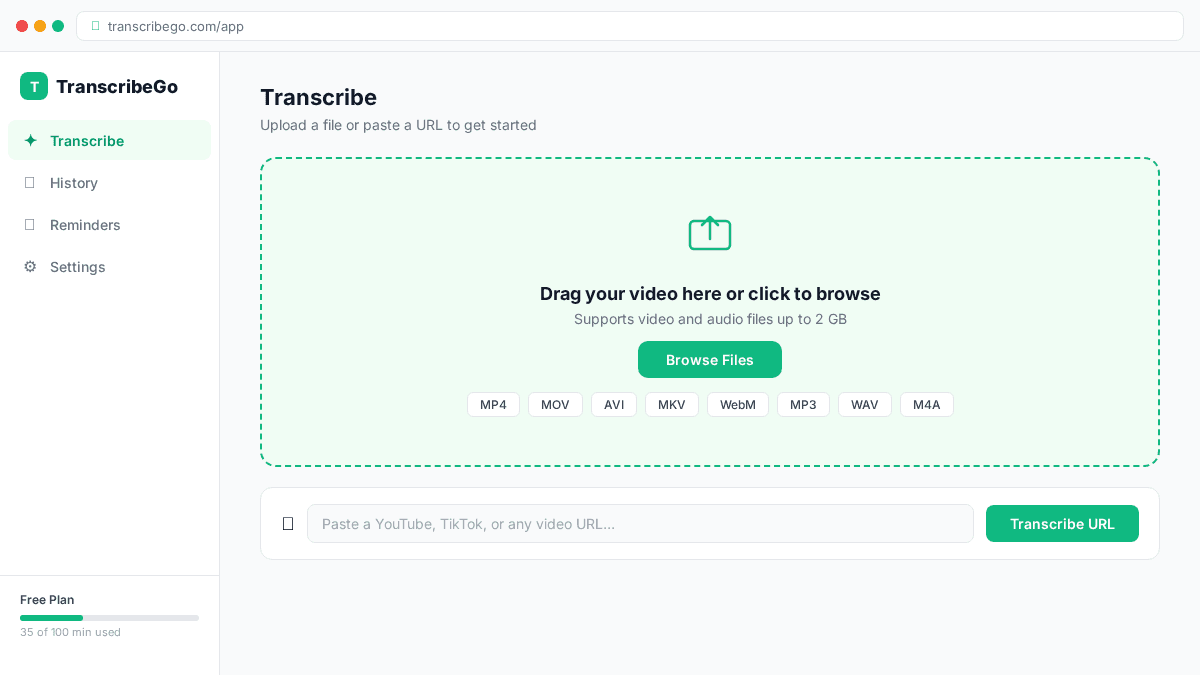
You'll land on the main transcription screen, which has a large drag-and-drop area front and center.
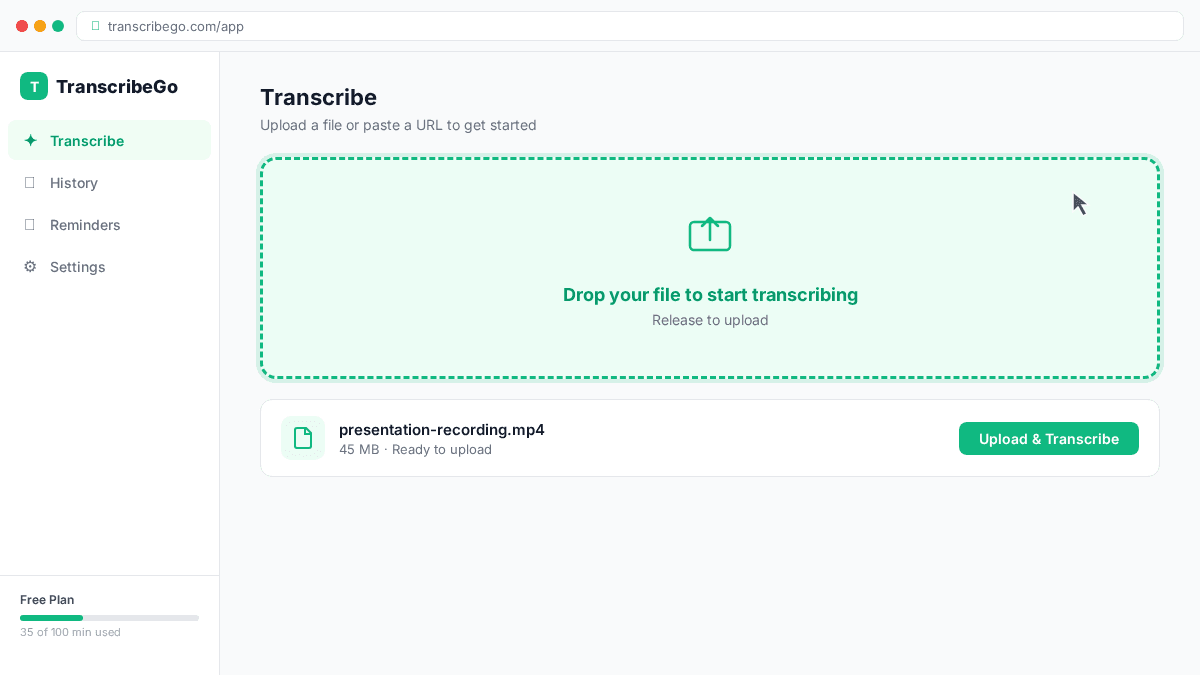
Step 2: Drag Your Video onto the Screen
Grab your video file from your computer and drag it directly onto the TranscribeGo window. You'll see the drop zone highlight to confirm it's ready to receive your file.
You can also click the upload area to browse and select a file manually.
Supported formats: MP4, MOV, AVI, MKV, WebM, M4A, MP3, WAV, OGG, FLAC, and more. TranscribeGo handles the audio extraction automatically — you don't need to convert anything first.
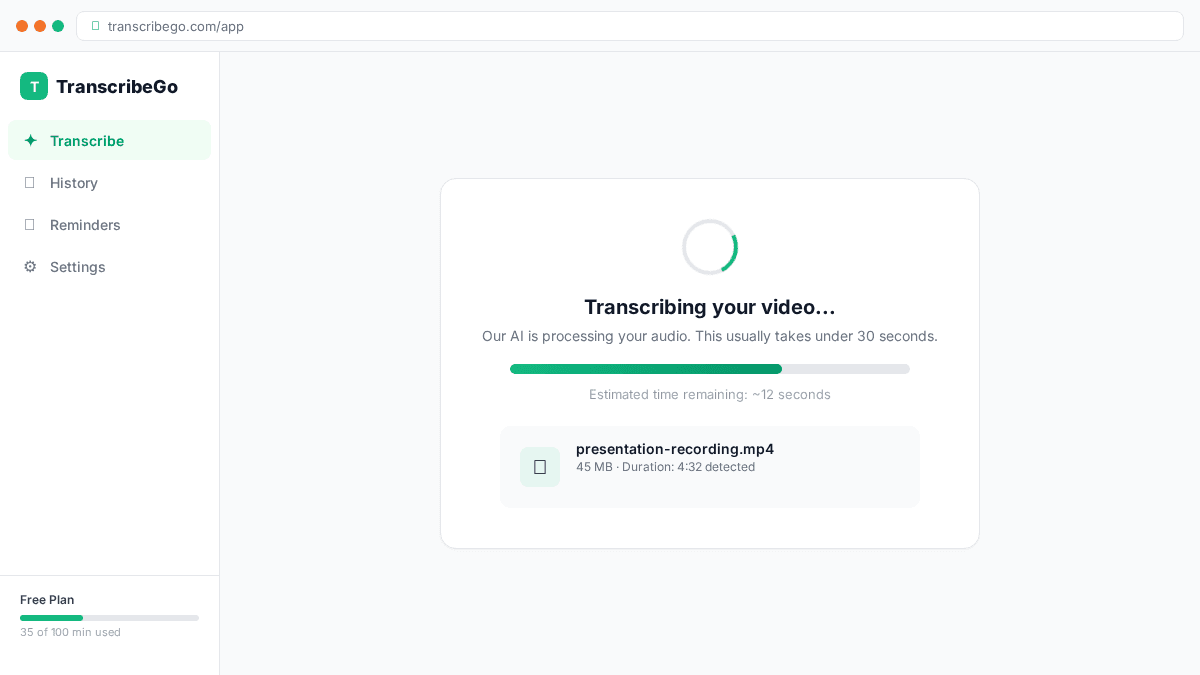
Step 3: Wait for the Transcription
Once uploaded, TranscribeGo's AI engine starts processing your video immediately. You'll see a progress indicator while it works.
For most videos under 10 minutes, the transcription is ready in under 30 seconds. Longer videos (up to several hours) are processed in the background — you'll get a notification when they're done.
TranscribeGo uses its own AI transcription engine, built to deliver high accuracy across accents, languages, and audio quality levels.
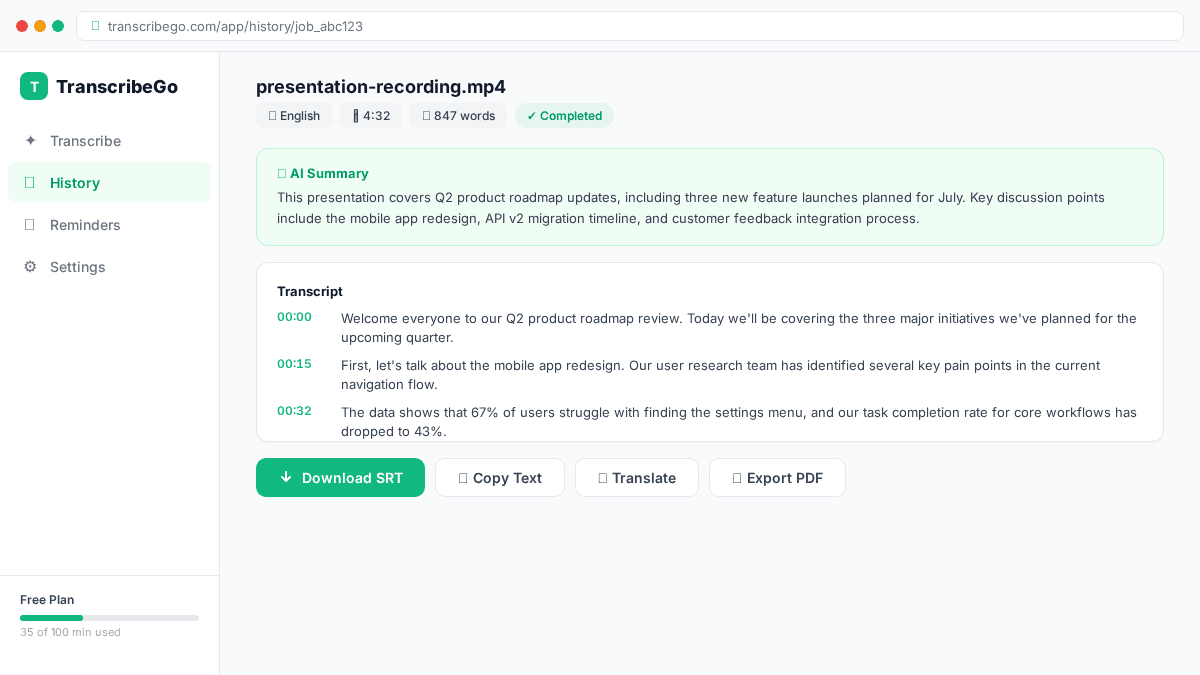
Step 4: Download Your SRT File
When the transcription is complete, you'll see the full text on screen. Look for the "Download SRT" button — click it, and your subtitle file downloads instantly.
The SRT file is ready to use immediately. No editing or reformatting needed.
Try TranscribeGo Free
10 free minutes. No credit card required.
How to Use Your SRT File
Now that you have your subtitle file, here's how to apply it:
With VLC Player (free):
- Open your video in VLC
- Go to Subtitle → Add Subtitle File
- Select your downloaded SRT file
- Subtitles appear immediately over the video
With YouTube:
- Go to YouTube Studio → select your video
- Click Subtitles → Add Language → select your language
- Click Upload File → With Timing → select the SRT file
- Review and publish
With video editors (Premiere Pro, DaVinci Resolve, Final Cut Pro):
- Import the SRT file into your project
- Drag it to your timeline
- The subtitles automatically align with the video's timing
- Customize font, size, and position as needed
With social media: Most platforms (Instagram Reels, TikTok, LinkedIn) now support SRT file uploads when posting videos. Upload the SRT alongside your video and the platform handles the rendering.
What Is an SRT File?
SRT (SubRip Subtitle) is the most widely supported subtitle format in the world. It's a plain text file that looks like this:
1
00:00:01,000 --> 00:00:04,500
Welcome to this video about generating subtitles.

2
00:00:04,800 --> 00:00:08,200
Today I'll show you how to create them automatically.
Each block contains a sequence number, start/end timestamps, and the subtitle text. Because it's plain text, you can open and edit it in any text editor if you need to make manual corrections.
Why Add Subtitles to Your Videos?
Subtitles aren't just an accessibility feature — they're a growth strategy:
- 85% of Facebook videos are watched without sound (Digiday)
- Videos with subtitles see 40% more views on average (PLYMedia)
- Subtitles improve SEO because search engines can index the text content
- They make your content accessible to deaf and hard-of-hearing viewers
- They help viewers who speak your language as a second language
TranscribeGo vs. Manual Subtitling
| Aspect | Manual | TranscribeGo |
|---|---|---|
| Time for 10-min video | 1-2 hours | ~30 seconds |
| Cost | $1-3/min (human) | Free (first 10 min) |
| Accuracy | 99%+ (human) | 95-98% (AI) |
| Languages | One at a time | 90+ auto-detected |
| Effort | High | Drag and drop |
For most use cases — YouTube videos, social media content, internal meetings, educational material — AI-generated subtitles are accurate enough to use directly, and you can always make quick edits to the SRT file in a text editor.
Frequently Asked Questions
What video formats does TranscribeGo support?▾
TranscribeGo supports all major video and audio formats: MP4, MOV, AVI, MKV, WebM, M4A, MP3, WAV, OGG, FLAC, and more. You don't need to convert your files first — just upload them directly.
How accurate are the subtitles?▾
TranscribeGo's AI engine achieves 95-98% accuracy depending on audio quality and background noise. Clear speech with minimal background noise produces the best results.
Can I generate subtitles in other languages?▾
Yes. TranscribeGo auto-detects the spoken language (supporting 90+ languages) and generates subtitles in the original language. You can also enable translation to get subtitles in a different language.
Is TranscribeGo free?▾
You get 10 free minutes of transcription when you sign up. After that, plans start at $3.99/month for 200 minutes.
Can I transcribe YouTube or TikTok videos by URL?▾
Yes! Instead of downloading the video first, you can paste a YouTube, TikTok, or Vimeo URL directly into TranscribeGo, and it will extract the audio and transcribe it automatically.